Do you find yourself meandering through the meat aisle, pausing at the sight of pancetta and wondering how this delectable Italian bacon can elevate your culinary creations at home? You’re not alone! I’ve been there too, and that’s why I’m excited to share my passion for this savory ingredient with fellow food aficionados like you. Let’s embark on this flavorful journey together, and I’ll walk you through every step of making pancetta from scratch.
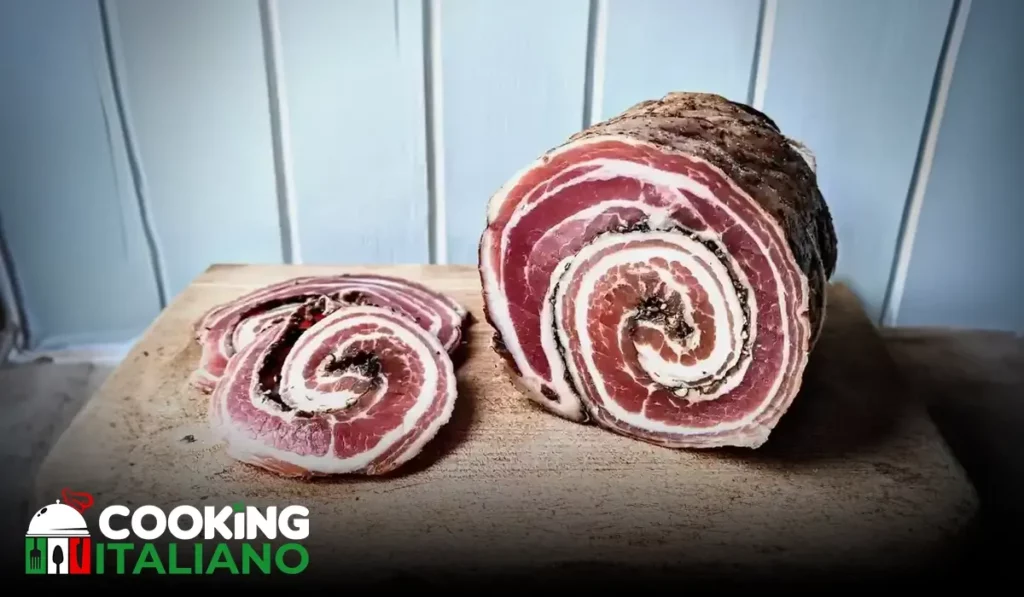
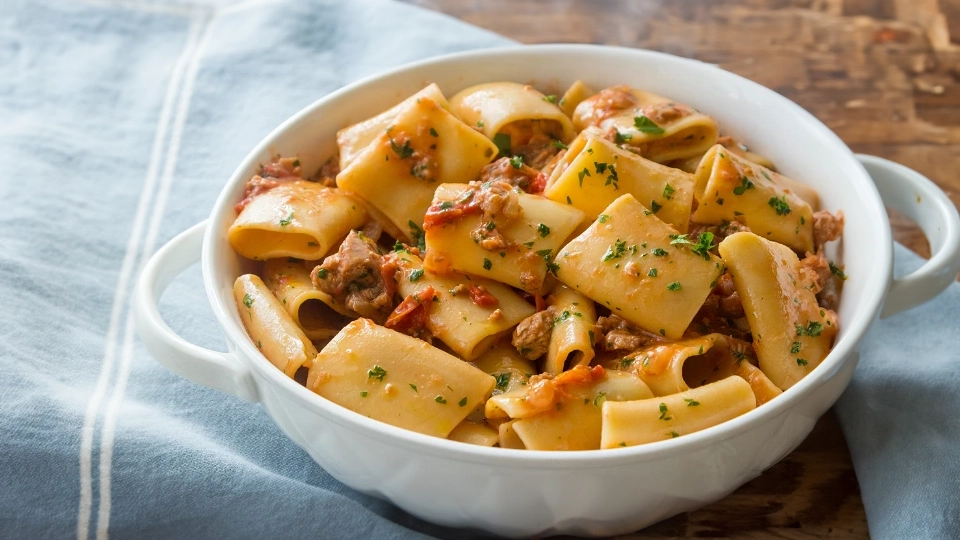
Pancetta, that beautifully seasoned and cured Italian delight, has always held a special place in my kitchen. Its versatility is unmatched; it’s the secret weapon that adds a depth of flavor to dishes ranging from simple pastas to elaborate roasts. If you’re eager to incorporate this ingredient into your culinary repertoire, read on for an easy-to-follow recipe that demystifies the pancetta-making process.
Homemade Pancetta
Ingredients
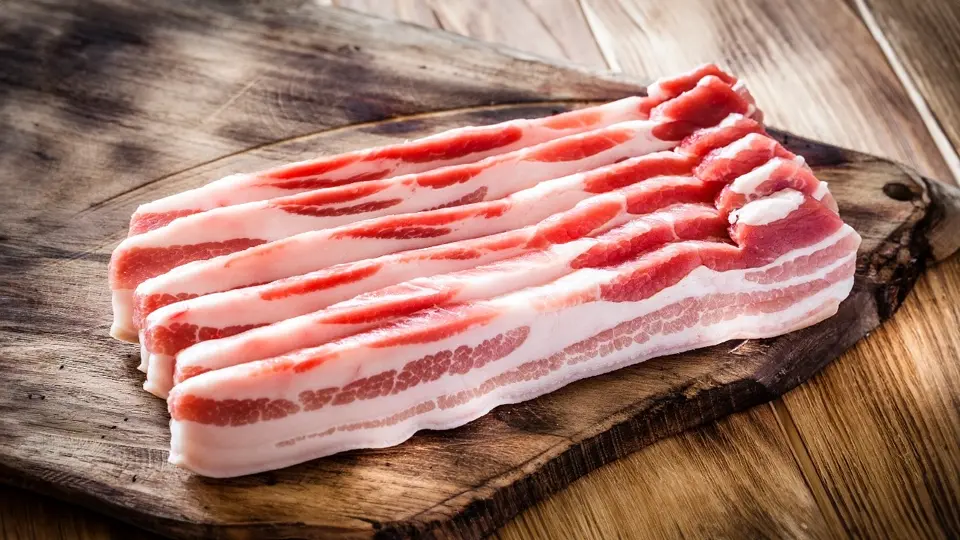
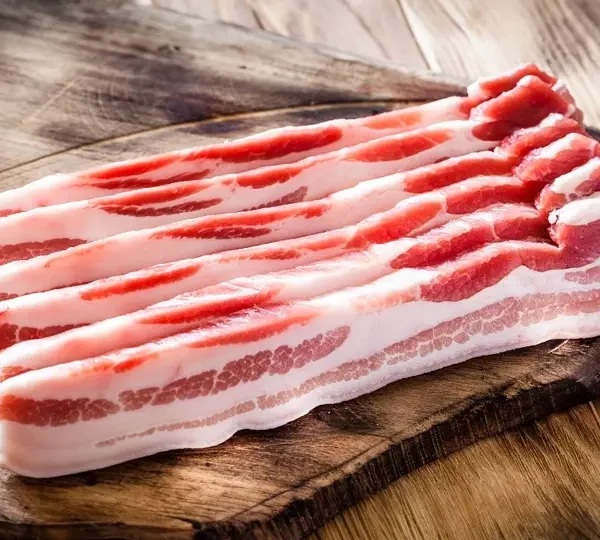
- 5 pounds of pork belly
- 1/4 cup of kosher salt
- 2 tablespoons of freshly ground black pepper
- 1 tablespoon of ground juniper berries
- 2 teaspoons of Prague powder #2 (also known as curing salt)
- 4 garlic cloves, minced
- 2 tablespoons of brown sugar
- 1 tablespoon of fresh rosemary, chopped
- 1 tablespoon of fresh thyme, chopped
- A dash of love (don’t skip this one; it makes all the difference!)
Instructions
- Rinse your pork belly and pat it dry with paper towels. Lay it flat on a clean surface to prepare for the curing mixture.
- In a bowl, combine kosher salt, black pepper, ground juniper berries, Prague powder #2, minced garlic, brown sugar, rosemary, and thyme. Mix these together until well blended.
- Now, sprinkle your love – evenly distribute that spice mix over every inch of the pork belly. Rub it in as if you’re giving it a well-deserved spice massage.
- Once thoroughly coated, slip the pork belly into a large resealable plastic bag. If there’s any leftover rub, pour it in as well. Seal the bag, ensuring there’s as little air as possible inside.
- Place the bag in a flat dish (just in case of leaks) and set it in your refrigerator. Now, the waiting game begins. For the next 7 to 10 days, you’ll turn the bag over once a day to ensure the cure is evenly distributed.
- After the time has elapsed, take out the pork belly, and it should be firm to the touch. Rinse it under cold water to remove the spice mixture, and pat it dry once more.
- If you have a cool, dry place with good airflow, you can hang the cured pork belly there for another 1 to 2 weeks. Watch it transform into the pancetta that we know and love.
- Once it feels firm and dry to the touch, you can wrap it in parchment paper and keep it in the refrigerator until you’re ready to slice and use it.

DID YOU MAKE THIS RECIPE?
Tag @amcookingitaliano on Instagram and hashtag it #amcookingitaliano!
Tips for Customization
One of the joys of making pancetta at home is you can tailor the flavor profile to your liking. Fancy a spicy kick? Add some red pepper flakes to the cure. Crave a hint of sweetness? Maple sugar can be a delightful twist.
How to Store
Once your pancetta is fully cured, it can be wrapped in parchment paper and stored in the fridge for up to 3 weeks or in the freezer for up to 3 months. When you’re ready to use it, simply thaw and slice, or grab it from the fridge and get cooking.
Conclusion
I encourage you not to be deterred by the time commitment or the steps involved in making pancetta. The result is genuinely worth the effort, and it can bring an unmistakable Italian flair to your dishes. Plus, imagine the sense of accomplishment when you savor that first bite, knowing it’s your own handcrafted creation.
FAQs
Q: Can I make pancetta without curing salt?
A: Technically, yes, but I wouldn’t recommend it. Curing salt helps prevent the growth of bacteria during the curing process and imparts a distinct flavor and color.
Q: How do I know when the pancetta is fully cured?
A: It should feel firm throughout and have a uniform color. Trust your instincts; if it feels off, it probably is.
Q: Can pancetta be eaten raw?
A: Once cured properly, yes, pancetta can be eaten raw.
Embarking on this pancetta-making adventure has always been a labor of love for me, and it provides such a rich experience that goes beyond just following a recipe. Sharing this with you brings me immense joy, and I hope adding pancetta to your culinary feats does the same. Happy curing, and here’s to many delicious meals ahead!