I have always felt fulfilled when I roll out fresh pasta dough. It’s a tactile experience connecting me to an age-old tradition and a culture that has transcended time. In this extensive guide, I will share how to create one of Italy’s most beloved pasta shapes from your kitchen: tagliatelle.
Forget about the store-bought varieties; homemade tagliatelle will transport you to the heart of an Italian kitchen.
Tagliatelle
Ingredients
To craft your tagliatelle, the essential ingredients are those you’d expect in pasta — flour, eggs, and maybe a little salt. Here’s the breakdown you’ll need for a standard batch:
To make about four servings of tagliatelle, you’ll need:
- All-purpose Flour: 2 cups (about 250 grams), plus extra for dusting
- Eggs: 3 large eggs at room temperature
- Salt: A pinch (approximately 1/8 teaspoon) to mix with the flour
- Optional Ingredient: For a different texture or added elasticity, include one tablespoon of olive oil or replace up to half of the all-purpose flour with semolina flour.
Instructions
Making tagliatelle is as much about technique as it is about the right ingredients. Follow five steps closely, and you’re halfway to Italy.
Step 1: Mixing the Dough
In a large mixing bowl, combine the 2 cups of all-purpose flour with a pinch of salt. Make a well in the center of the flour pile, and crack the three large eggs into it. If you’re opting for olive oil or semolina flour, now is the time to add them.
Step 2: Kneading
Mix the eggs and flour with a fork, gradually incorporating the flour from the sides of the well. Use your hands to knead the dough when the mixture becomes too thick for the fork. Place the dough on a lightly floured surface and knead vigorously for 10 minutes until smooth and elastic. If the dough feels too sticky, dust it lightly with more flour.
Step 3: Resting the Dough
Shape the dough into a ball and wrap it in plastic wrap. Allow it to rest at room temperature for at least 30 minutes. This gives the gluten in the dough time to relax, making it easier to roll out.
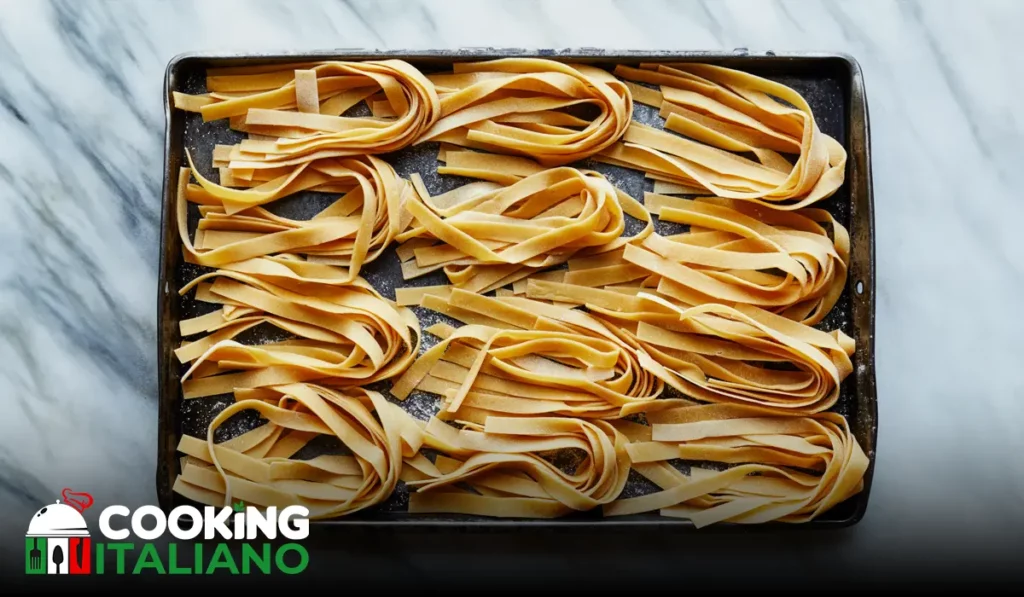
Step 4: Rolling and Cutting
After resting, cut the dough into four equal portions. Work with one portion at a time, keeping the others covered. Flatten the portion of dough with your hand and then use a rolling pin to roll it out into a thin sheet about 1mm thick. Alternatively, if you have a pasta machine, roll out the dough to the desired thickness. Once rolled out, lightly dust the pasta sheet with flour, fold it loosely, and cut it into 1/4 inch (6mm) wide strips to create tagliatelle.
Step 5: Cooking
Bring a large pot of salted water to a boil. Add the tagliatelle and cook for 2-3 minutes or until al dente. Drain the pasta and serve it immediately with your favorite sauce.

DID YOU MAKE THIS RECIPE?
Tag @amcookingitaliano on Instagram and hashtag it #amcookingitaliano!
Tips for Customization
Once you’ve mastered the basic recipe, you can start playing with flavors and colors. Here are a few ideas to get you started:
- Herb-Infused Pasta: Add finely chopped fresh herbs to your pasta dough, such as basil or parsley, for a hint of color and flavor.
- Spinach Tagliatelle: Blend spinach into your pasta dough for a vibrant green tagliatelle. Squeeze as much moisture as possible from the spinach first to avoid a wet dough.
- Squid Ink Tagliatelle: Add squid ink to your dough for a dramatic black tagliatelle.
- Beet or Carrot Tagliatelle: Incorporate beet or carrot purée into your dough for a festive red or orange batch.
Experiment in small batches until you find the right balance. Too many wet ingredients can change the texture of the pasta, while too many dry ones can make it crumbly.
How to Store
Fresh tagliatelle can dry at room temperature but must be consumed within a day or two to avoid spoilage. If you’d like to store your tagliatelle longer, there are two methods:
- Freezing: Lay tagliatelle in single layers on trays and place in the freezer. Once frozen, transfer to airtight containers or bags, removing as much air as possible. They’ll last for several weeks.
- Drying: Once dry to the touch, bundle your tagliatelle and store it in a cool, dry place for up to a month.
When ready to cook, tagliatelle can go straight from the freezer into boiling water. Don’t defrost first.
Conclusion
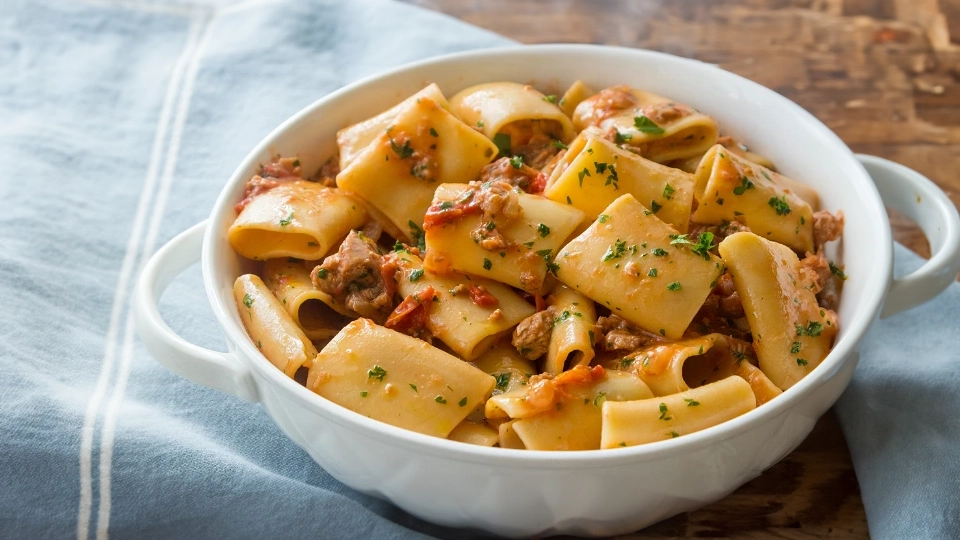
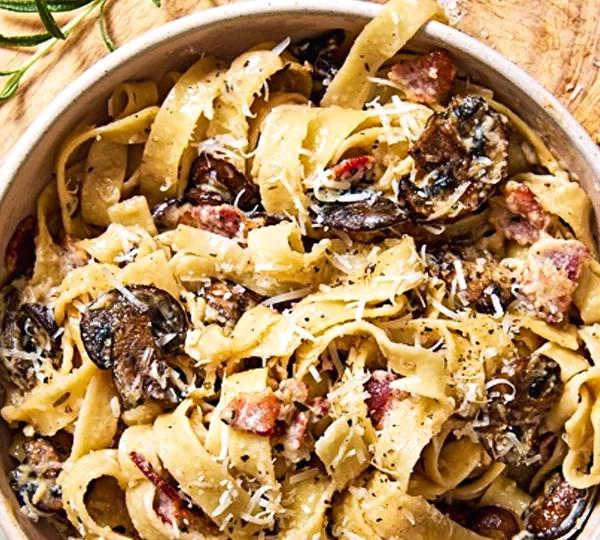
There’s something incredibly satisfying about serving up a plate of pasta you made from scratch. It’s not just about flavor or tradition; it’s a connection to the timeless art of food preparation. Tagliatelle is a classic pasta that’s simple to make but rewarding to master. Whether you twirl it with a robust Bolognese or dress it lightly with olive oil and grated cheese, the memories you create around this dish will last a lifetime.
FAQs
Q: I don’t have a pasta machine. Can I still make tagliatelle?
A: Absolutely! It’s more work, but an excellent rolling pin and a sharp knife will do the trick. Roll the dough as thinly as possible, then cut into strips about ¼ inch wide.
Q: Why does my pasta sometimes turn out chewy?
A: This can happen if the pasta is undercooked or if too much flour is used when rolling out the dough. The key is to cook the pasta in plenty of salted water until al dente.
Q: My tagliatelle clump together after a while. How can I prevent this?
A: Make sure to dust the cut tagliatelle with flour and that they’re fully dry before storing. Toss with a little more flour if needed.