If you’re like me, the simple things in life often bring the most joy, and what’s simpler or more comforting than a perfectly made hard-boiled eggs? Whether you’re a food enthusiast looking for that foolproof method, a home baker in need of egg-centric tips, or a holiday chef prepping for the festivities, this post is all about those little orbs of goodness like Blinis with Caviar.
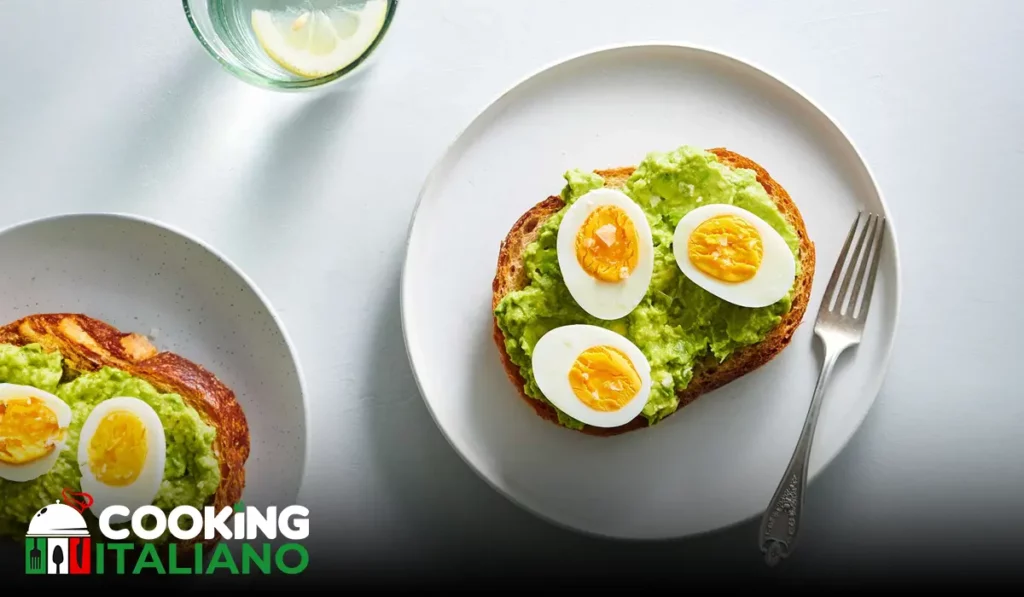
Today, I’m going to walk you through the steps to achieve the hard-boiled egg of your dreams – the kind with bright yellow yolks and firm but tender whites. Let’s get cracking!
Hard-Boiled Eggs
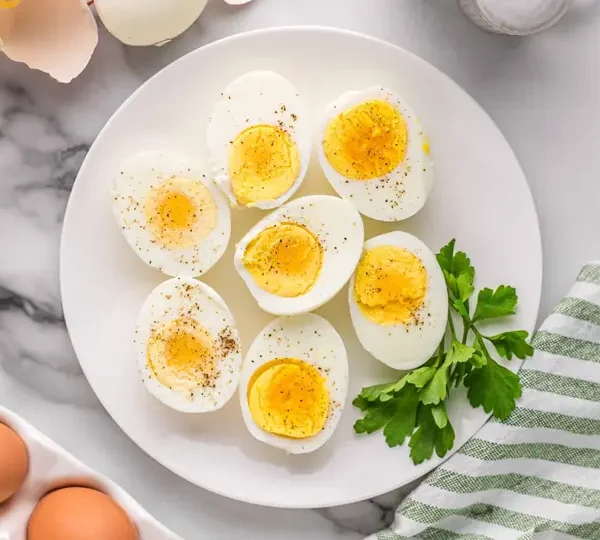
Ingredients
- Fresh eggs (as many as you’d like to boil)
- Water
Instructions
Here’s my tried-and-true step-by-step process for getting those eggs just right:
- Place the Eggs: Gently set your eggs in a single layer at the bottom of a pot. I usually use a medium-sized pot for half a dozen eggs; it’s big enough to accommodate them without crowding.
- Cover with Water: Fill the pot with tap water until the eggs are submerged by about an inch. This gives the eggs enough room to heat up evenly.
- Bring to a Boil: Put the pot on your stovetop and turn the heat to high. Watch for those little bubbles that signal the water is starting to boil.
- Start the Timer: Once the water is at a full rolling boil, let the eggs cook for one minute. Yes, just one minute! After that, remove the pot from the heat, keeping the eggs in the hot water.
- Let them Stand: Cover the pot with a lid and let the eggs stand in hot water. This is where size matters: I usually leave large eggs in for about 10-12 minutes. If you’re doing extra-large eggs add a couple of minutes, smaller ones a couple less.
- Prepare an Ice Bath: While your eggs are standing, prep an ice bath. Just take a large bowl, fill it with cold water, and toss in a handful of ice. This will stop the cooking process in its tracks, keeping your yolks sunny and bright.
- Cool the Eggs: Once your timer dings, transfer the eggs to the ice bath with a slotted spoon. Give them at least five minutes of chill time.
- Peel and Enjoy: Crack the eggs gently and peel them under running cold water. The shells should slip right off. Voila! Perfect hard-boiled eggs.

DID YOU MAKE THIS RECIPE?
Tag @amcookingitaliano on Instagram and hashtag it #amcookingitaliano!
Tips for Customization
Now, let’s talk about making these eggs your eggs:
- The Yolk Factor: For a softer yolk, reduce the standing time by a few minutes. If you fancy a firmer yolk for those deviled egg recipes, add a couple of minutes.
- Spice Your Life: To add flavor to your hard-boiled eggs, consider adding a pinch of salt, a dash of vinegar, or spices to the water before boiling.
How to Store
Storing your hard-boiled eggs is pretty straightforward – keep them in the fridge! Unpeeled hard-boiled eggs will last about a week. If you’ve already peeled them, it’s best to eat them within a day or two. I usually keep a bowl in the fridge covered with a damp paper towel to maximize freshness.
Conclusion
Hard-boiled eggs aren’t just a quick snack; they’re a versatile staple in the kitchen. As someone who loves getting creative with ingredients, trust me when I say that mastering this basic technique will serve you well. There’s a certain charm in the purity of a well-cooked egg, and the sense of satisfaction you get from peeling it clean is, quite frankly, unmatched.
I hope this guide helps you next time you’re faced with a carton of eggs and a craving. Now, go forth and boil!
Frequently Asked Questions
- How fresh should my eggs be for boiling?
Ironically, super fresh isn’t always best. Eggs a week or two old tend to peel more easily.
- Why do eggs sometimes turn green around the yolk?
That’s a reaction from overcooking. Stick to the timings mentioned here, and you’ll avoid the dreaded green ring.
- How can I make peeling easier?
Start peeling from the larger end, which often has an air pocket. Peeling under running water can help too.
Happy boiling, folks! Let me know how it goes – drop a comment below with your own tips, or share how this guide worked out for you. There’s nothing I cherish more than connecting with fellow food lovers and sharing in your kitchen adventures. Here’s to the simple, humble egg and the endless deliciousness it offers!


